Learning Centre
Tables
To work successfully with assistive technologies tables must include a caption that explains the content of the table and properly marked header cells.
Avoid the use of split or merged cells. This can confuse assistive technologies, resulting in row and column headings being read with the incorrect content.
To create an accessible table in Govstack:
- Navigate to the target text editor in your page content. Many components have text editors that support tables, including the intro and outro features.
- Place your cursor in the text where you would like to insert your table.
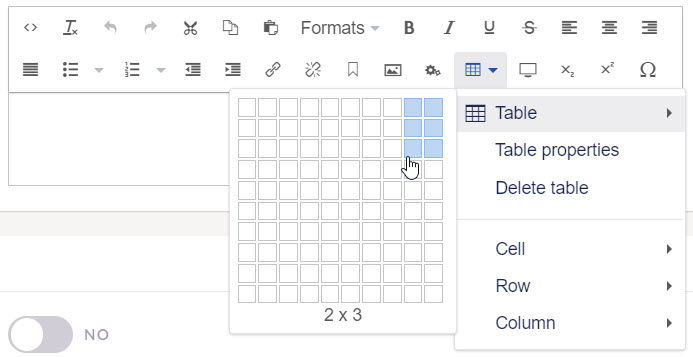
- Click the “Table” tool on the text tool bar. This will open the table tools dropdown.

- Mouse over the “Table” entry in the dropdown and use the grid provided to select the number of columns and rows you would like display in your table, then left click to create the table.
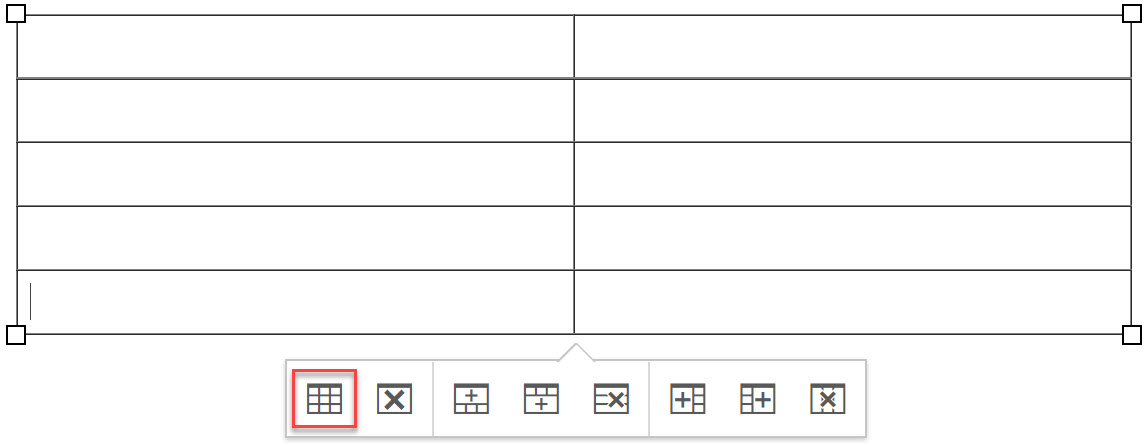
- A table control panel will appear below you table. Click the first button on the control panel to open the table properties dialogue.
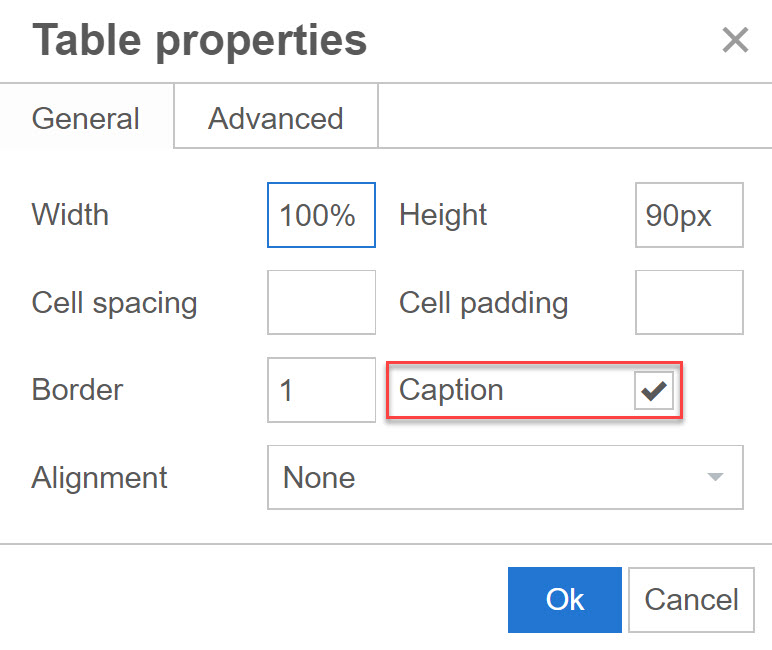
- Select the “Caption” check box and make any other changes you require. Then click “OK” to return to the text editor.
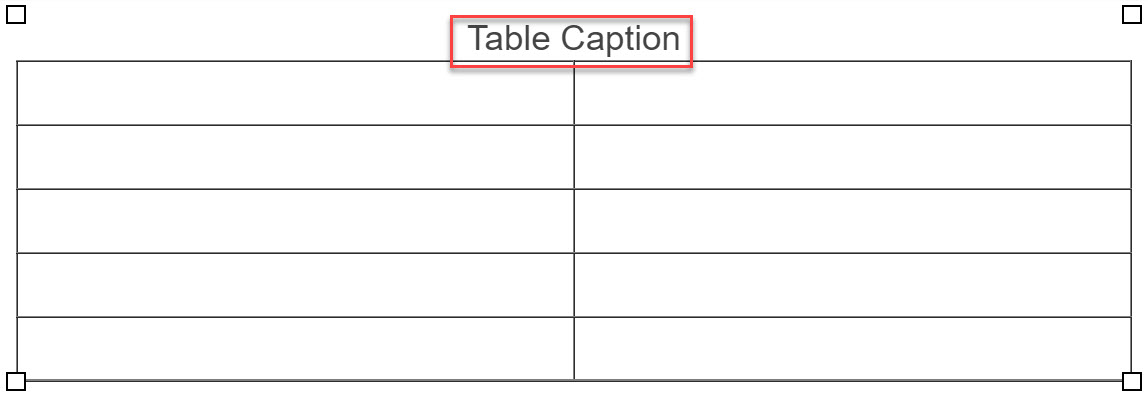
- Enter the table caption in the space above the table. The table caption will appear as a title above the table. It is read out by assistive technologies before the table to provide an opportunity to identify the table contents and skip it if desired.
- Place your cursor in your first header cell.
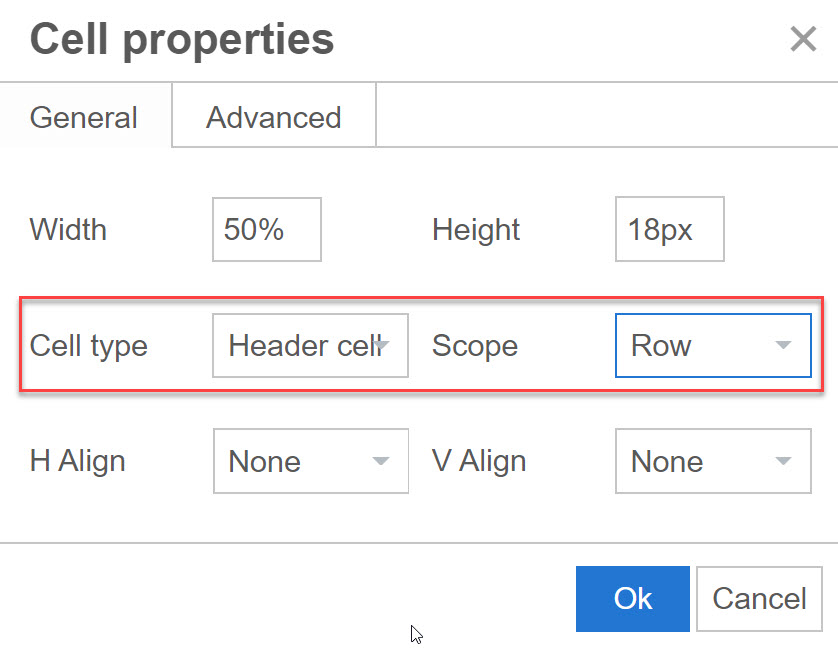
- Click the table tool on the text tool bar to open the table dropdown. Click “Cell” in the dropdown, then “Cell Properties”. The cell properties dialogue will open.
- Set the “Cell Type” to header cell, and the “Scope” to row or column as appropriate for the structure of your table.
- Repeat steps 9 and 10 for all header cells in your table.
Contact Us
GHD Digital Support
Primary +1-866-691-5528
Secondary +1-519-884-2476
Submit Online
Need Help?


