Skip to main content Skip to footer


Learning Centre

Add or Edit an Event

Govstack Events allows you to post and manage events on your website. Through user management, employee users, members of the public and calendar administrators can all add events. Calendar Administrators will then review and approve all events before they appear on the live website.

Sign in to the calendar

From the calendar on the public website, click the “Submit an Event” button. This will take you to the “Your Account” page. If you already have an account, select the “I already have an account and would like to login” button.

If you don't have an account, select the “I do not have an account and would like to create one” button. To create an account, follow the instructions provided. You'll need to respond to the confirmation email before you can add an event to the calendar.

If you're a calendar administrator, you can access Govstack Events from the Events section in the back office.

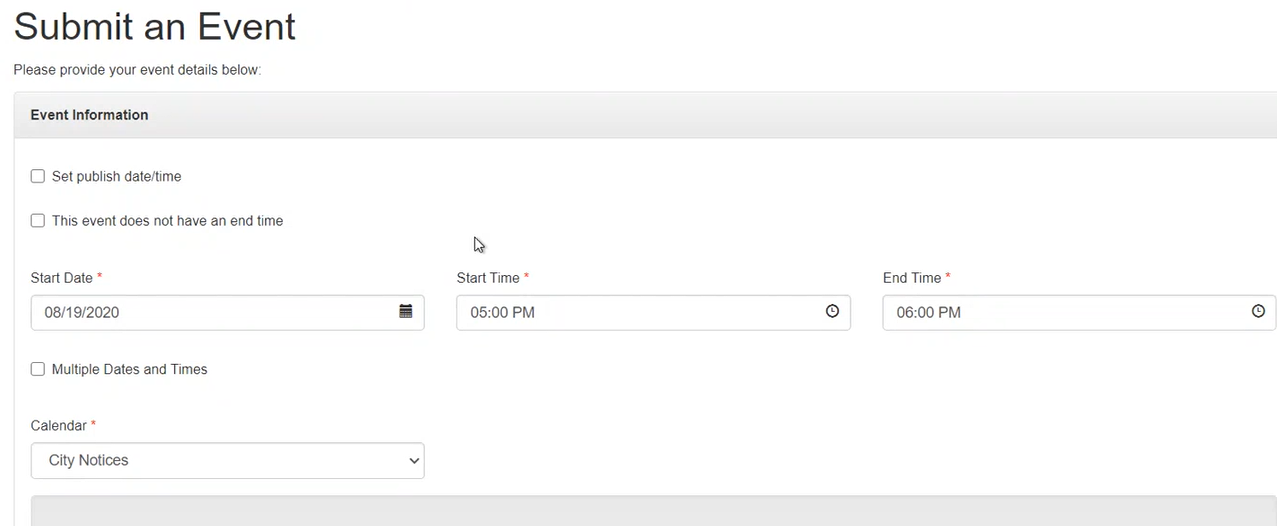
Submit an event form

Once you've signed in, you'll be on the “Calendar Home” screen. Select “Submit an Event” from the toolbar located at the top of the screen. This will take you to the “Event Information” form. Fill out the form with all relevant information about your event.

Submit and event form

Common event form options

Please note that the form options may vary based on the calendar configuration. Any field that has an asterisk is mandatory.

Review some of the most common field options.

Fill out the “Start Date,” “Start Time” and “End Time” fields on the event form. If your event doesn't have an end time, select the “This event does not have an end time” checkbox.

Recurring events

If your event will happen more than once, select the “Multiple Dates and Times” checkbox. Here, you can add different start dates and times for the event. Select the “Recurrence” checkbox to set up a daily or weekly recurring event. For example, a council meeting that takes place on Tuesday evening, every second week.

Choose the calendar you'd like to post your event to by using the “Calendar” dropdown menu. For example, there may be a Community Events calendar and a Council calendar.

Fill out the “Event Title” and “Event Details” fields. Here, you can provide a brief description of the event. Include any relevant details that are not found on the event form, e.g., event fees. Select the “Category” and “Subcategories” that best fit your event. This helps members of the public search for your event.

Complete all address fields so that people can find the location of your event.

Provide a contact name, phone number and email address for the event. You can also add an event website and social media platforms, if applicable.

You can upload a brochure or image to your event entry. Click the “Browse” button and select a file or image you'd like to include and then click “Upload” to add it to the event.

Preview and add your event

Once you've completed all the fields, click the “Preview” button located at the bottom of the page to review the information. If you'd like to make changes to the information, select the “Back” button and you will return to the “Event Information” form. If you're happy with the information, select the “Submit” button.

Depending on your user level, the event may be published immediately or it will be sent to the Calendar Administrator for approval.

Edit an event

From the Govstack Events “Home” screen, select the “My Events” tab from the toolbar. From here, you can access a list of all events that you've created. You can edit an event by selecting the “Update Event” icon next to the event you want to change. This will take you to the “Event Information” form and you can make any necessary changes. Once you've made all the changes, preview and submit your event for approval.